Table of Contents
Photobox v2
After building V1, I decided to build a second one with less flaws than the first one:
- Soft Power-on/Off
- Single power supply operation
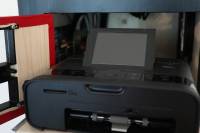
- Printer display visible
- Focus assist light
- Externally accessible HDMI port
- Better screen resolution
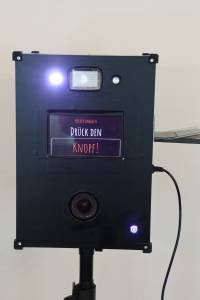
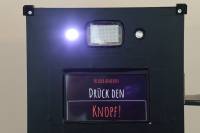
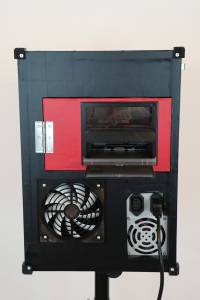
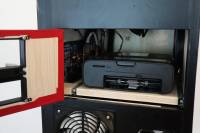
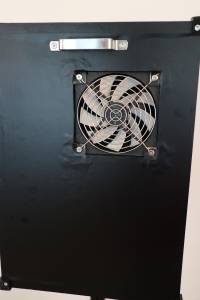
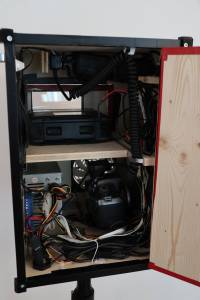
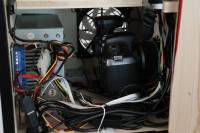
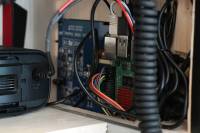
I met all my requirements by some changes to the design of the box. Apart from the Raspberry Pi, there is now a small microcontroller that is powered by the 5V standby line of the ATX power supply. This MCU monitors the power button and switches the ATX supply on and off. It also communicates with the Raspberry Pi to shut it down or trigger a picture. There are now two additional, bright LEDs: White for posing, red for focus assist during shooting. They are controlled by the Raspberry Pi (PWM). There is now more space for the printer and a glass window to allow a quick look at the printer's LCD.
Components
- Raspberry Pi 4
- 7“ 1024×600 IPS Touchscreen
- White and Red 12V LED
- Neewer TTL flash
- Canon EOS 1100D
- ATX power supply
- Arduino Pro Micro
- Relais Module
- PWM/MOSFET Module
- 12V/24V step-up converter
I modified the ATX power supply and removed all cables that were not required. This is optional but leaves more space inside the box.
Software
The Photobox is powerd by QtPhotobox (QtPhotobox) and the firmware for the MCU can be found in my github repository: photobooth-psu.
